Friday, April 29, 2011

May's Silly Snack Saturdays

Hi there. I have a confession to make .....I like to play with my food..and so do my kids. 
As you know this could lead to issues if not handeled correctly. Good manners is important so here is my solutions to good manners and having fun with our snack times.

This Month every Saturday I will feature a Silly Snack that the kids and I have made together. Hope you enjoy this months Saturday posts as we highlight our Silly but nutriential Snacks!!
Here is our 1st one.
The Banana Family


Here is Jr. banan
He never really met his parents they were consumed before he was created.

What we used:
1 Banana
Almonds
Flavored marshmellows
Pretzels
Raisins


Hey it's Saturday so why not play with some food? ;)
Have a great weekend.
~becky

**I just wanted to put a plug in for a blog called Support Blog for Moms of Boys. If you have boys this blog is full of projects and ideas for our little men. 
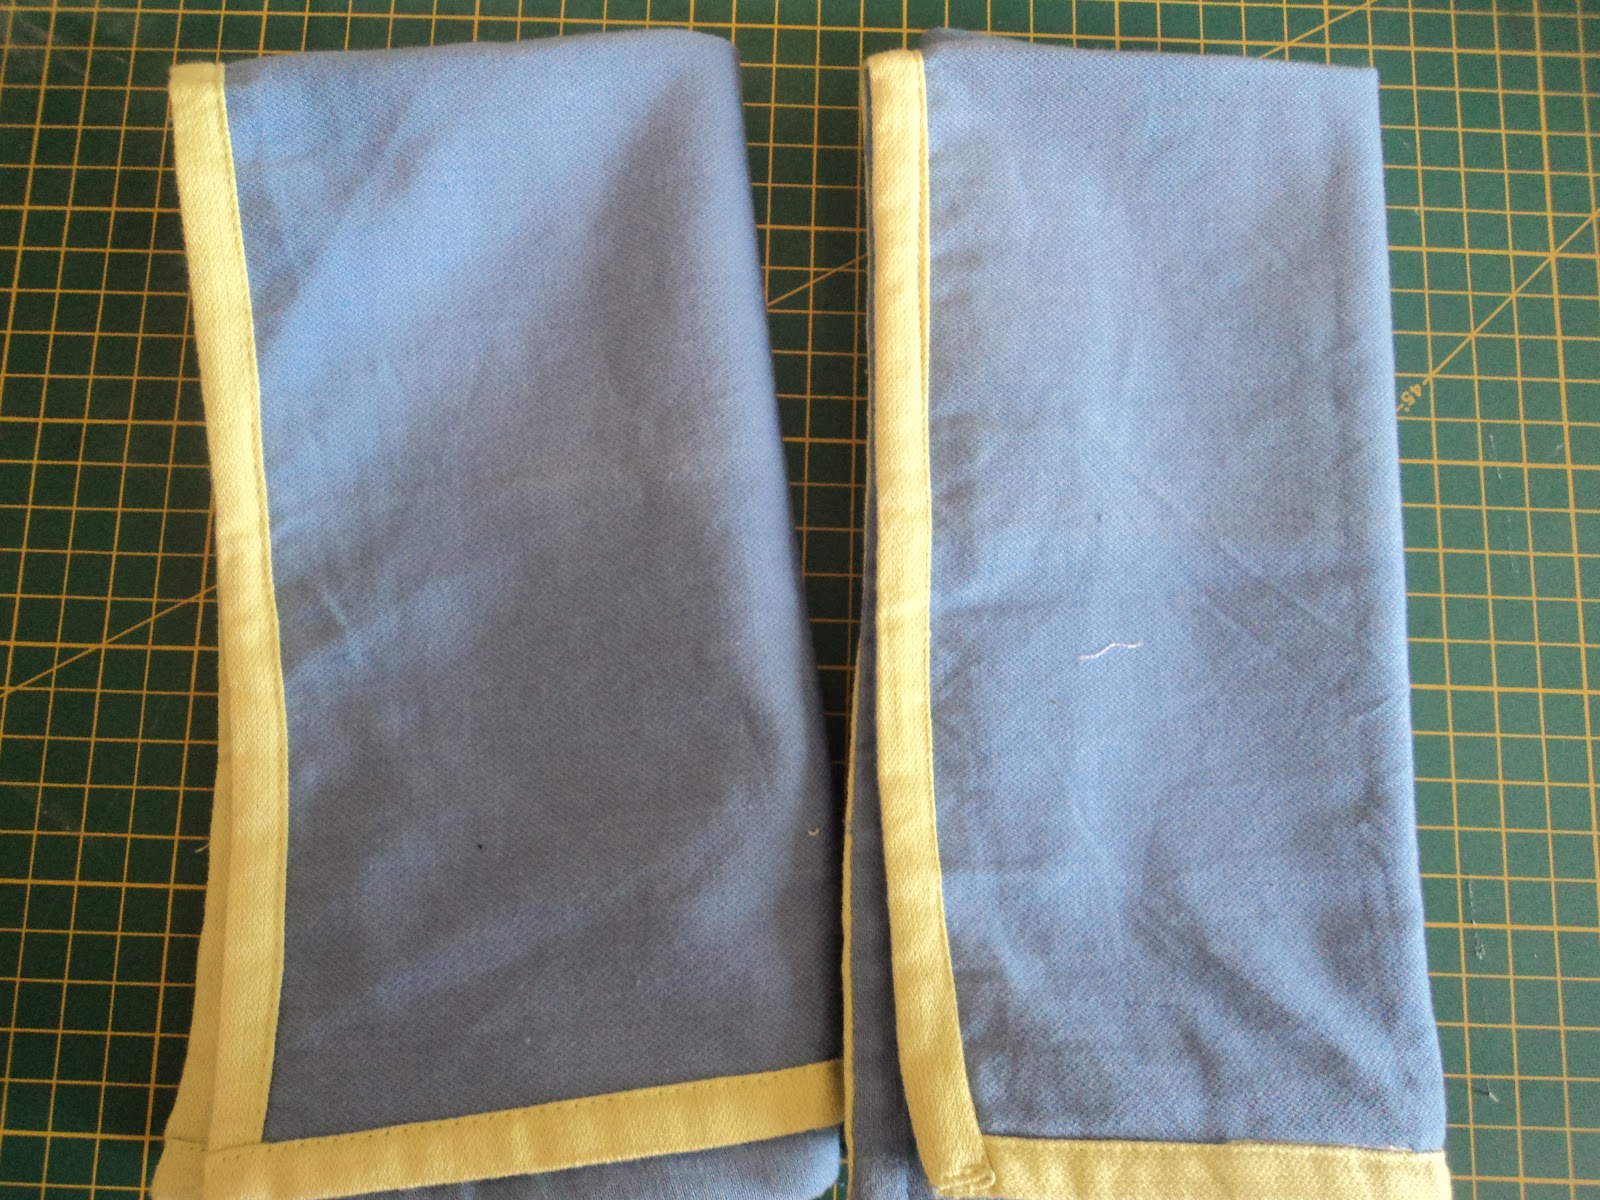
She is featuring my Car pillow out of cloth napkins today over at her site.
Take a minute and give her some blog love click here **


Makeshift Home Theater

I am encouraged to 'use what I have' even if it isn't GRAND.  Our home has a long lasting will not die tube televsion.  No big flat screen here...plus here inTurkey electronics are 3x the price as they are in the States. So we are waiting that out. 

Meanwhile I wanted to have a bunch of the kids over from the neighborhood to watch a movie at our makeshift Home Theater. :)  So here are the pics on how we juiced it up to have a great time.

Now Playing
Toy Story #2
(in Turksih of course ;))

Our Ticket booth.
Made out of cardboard of course. :)

Cinema ticket
1 person
Time: 2:00 o'clock

Our ticket collector hard at work.

Lolipops and popcorn. 
I think this event cost me 7.00 lira (5.00 dollars) total.

I propped up the back seat with cushions so all could see,
 and totally rearranged my living room for good seating.
My kids and the rest had a riot and then we went to the park when it was finished. 

I think we may do this again especailly since we recently got a projector for our work.  It would be perfect.  So Toy Story #3 will be the next showing at our house...maybe on a rainy day.


Toy Story #2 now playing at an
apartment near you.;)


Well that's all for now.  Have a great weekend. :)  ~becky


Tuesday, April 26, 2011

Spring Crocheted Bookmarks

Are these not just so sweet
and perfect for Spring.
I asked my dear feind here if she would make me some crocheted bookmarks. I told her what I was thinking and she made these fun and pretty bookmarks for me so I could give them as gifts. I bought 10 off her and have sent 4 off in the mail already.  


Many Turkish women crochet and knitt and need no pattern. My friend does an amazing job of croching and knitting. She recenlty lost her job and has begun putting her efforts towards her hand work.  

Please keep your eyes pealed for more of my friends work.  I will be show casing some of her pieces  as a part of  my 'Celebrating Turksih Creativity' and eventually give a way a few pieces of her work later this Spring/early Summer. 


I was gone for a week at a conference and some R & R and decided to take a week break from the internet also. We were close to one of the Greek Istands so we popped over there for a day. :) It was an adventure. I will hopefully post some pics in the next week of our time.  
Glad to be back and look forward to blogging again. :) 
I hope you all had a great EASTER. 

Sunday, April 17, 2011

Twirl away darlings ~ you're covered!

Happy Monday! I have been featured over at
 Measured by the Heart today. So fun.


As most of you know I have two girlies and they are just that girly.
They love to wear skirts and my younger of the two especially likes the twirly skirts and loves to twirl. She is pretty insistent on skirts every day, all day. :)
 If you would like to see more of this fun post and what I did to assure my girlies were covered while twirling click this link and come on over to Measured by the Heart blog.


A warm welcome to all you visiting from Measured by the Heart. 
Feel free to grab a cup of tea/coffee and stay for awhile, I love visitors. :)

~becky

Friday, April 15, 2011

Easter addition of the 'Welcome Rock'

Spring is here and Easter is just around the corner so our 'welcome rock' has come to my mind. Then the other day my son says "big big rock I paint, please?" :) So yestrday we went to work. :)

For the full story on our 'Welcome rock' click here. :)

Here is our updated piece of art that sits outside our door.


For the grandparents and family..:) here are the artist of the Easter addition 'Welcome Rock'.


Enjoy your weekend and paint a rock. :)
~becky


Thanks for all of your comments and stopping by my blog.
 It makes me really smile when you all leave a comment, you know like the Cheshire cat.
Yep that is so me when you all leave a comment. :)
I love having you and your are always welcome!

Wednesday, April 13, 2011

Sewing simple ~dress to skirt

This post is in honor of my little Lou Lou and her love for skirts.

Sewing simple projects is definantly where my skill level is right now. I have tried a few sewing tutorials online but truth is I have bombed out. I am such a visual learner and so I love the tutorials but for some reason I have had a hard time with the sewing tuts.  So and I have deciced to post my simple beginner projects for those who are in the same boat as me..we can learn together.  I tend to post lots of pics because as I said I am so visual.

A pink skirt ~ My middle girl has a pink skirt that she wears every moment she can. It is beginning to look rather shabby to my eyes but not to little Lou Lous.  I am determined to sew my girls twirly, frillly skirts and replace Lou Lou's pink twirly skirt with something spectacular.. however until that day I decided to 'use what I had' and lots of love and this is what I came up with.

        From dress to another pink skirt
Below is the tut on how I went from dress to skirt. It really is so simple and could be done by hand stitch easily.

The first step is to cut off the top part of the dress.

I used this dress because it is too short for Lou Lou but it is an empire waist so the top part is short leaving the bottom part to be longer and perfect for a skirt. I cut at the top seam, it made it clean and accurate.

Here it is cut into a skirt and folded over twice. I then pinned it and lightly stiched it so that when I sewed it on my machine it I could follow the line easily.

The skirt has been sewn and I left an opening to fit the eleastic through. 
I pinned the safety pin to the end of the elastic and worked it around the skirt.
Here is the elastic all the way through.
Then I pulled the elastic according to how tight I thought it needed to be for my daughter's waist.

After I pulled the elastic to the right elasticity I then cut the excess elastic and sewed the two pieces together. I then went and sewed up the opening.

I have a ribbon box. Ribbon is fairly easy to buy here on the open market and it is inexpensive.  I had this on hand from another project so I put it to use.  I pinned it all around the edging.
I always pin everything.  I need to in order to be accurate.  Funny thing is however I am so not detailed..and learning to sew is a challenge for me sometimes because things need to be done a certain way in order to look good. So I have to adhere to the rules I guess. :)

Time to sew it on and then cut off any excess ribbon.
Figured I might as well use the sweet little flowers from the top.


I choose to put the  flowers towards the bottom of the skirt ..and tada it is finished. 
Fun thing is it only took me part of my evening and now I am looking at the dresses from last summer and wondering what other ones would be good canidates for a skirt makeover. 

Now I have done my mommy duty and provided another pink skirt for Little Lou Lou so she doens't look like a ragamuffin. Yippe.. P.s. She loves it.


I think one of my favorite things is seeing my kids use, wear or play with the creations I have made for them or we have made together. Being a mom is not for those faint of heart and being able to give to my children creavtivly helps me to enjoy them as the grow and change and give into each of their intersts.

~ all for now..from the west corner.
becky


Sunday, April 10, 2011

SPRING ~ It's for the birds.

The following is some of my first real spring moments that filled up a day.
It was a beautiful day, captured by words and pictures that I wanted to share with all of you.


SPRING is hand picked daffidils given to me.


Here in my far west corner one thing I miss is song birds.  Yes,  plently of pigeons and crows! However the beautfiul song of a bird is very rare and so today if you hear a bird sing take a minute to listen because it really is a sweet little gift.

The follwoing poem is written by my niece who is an aspiring writer and I am one of her fans.
Her blog : Thoughts of my Own is where I read this perfect  
 word description for birds in the spring... enjoy


SPRING is this poem:


THE ROBIN

The early morning was still. The animals yet slumbered, the wind still at rest. But the birds were no sluggards. They sang their sweet morning chorus. A woodpecker gave the beat-a steady, vibrating tap. Far off, a trio of cheerful chickadees played a game of tag, unconsciously playing the symbols and tambourines. If you listened closely, you could just make out the lute that a mourning dove played-a sad song, that somehow fit in perfect harmony with the rest. One voice stood out above the others, however; a robin, perched on a limb like a stage, a proud prince upon its throne. The soloist sang loudly, without ceasing, as if it had just found its voice, and was happy, and proud about it too. I stood in the early morning chill, mixed as it was with spatters of sunlight, listening with rapt attention to this proud soloist, with a choir at its back.

(If you enjoyed this piece feel free to drop by Thoughts of my Own and let her know. )


SPRING is the beginning of trips to the park!


~Well that was my SPRING day.
As I post today however, 
it is well rainy and dreary but then again it's spring in both the flowers and the rain. 
~ becky

Friday, April 8, 2011

Traveling chalkboard buddies~

This was my feature post over at CHOOSE TO THRIVE last month.

Traveling chalkboard buddies.

Living here in Turkey has put my life in perspective and I am very glad at times for not having everything at my finger tips it is good to live simply and 'use what I have'.


 There are no big, nice, absoulutly fun craft or fabric stores over here so instead of always wishing for something else I started using what I had and that has become 
my theme for this season:  
"Honor God, live simply, use what you have and give the rest away."

Well let's start creating... with what I have on hand. 

~Really the first order of business for me is to get a cup of tea. 

~I had some left over chalkboard paint that I brought back from the U.S. and I have been wanting to use it  up.. so

~I Grabbed a cardboard box. I have several. :)   
~ I drew a stencil from paper of a doll and car then
cut out the doll and car shapes from the cardboard box.
Need to be careful not to step on the box or push your hand down on the box to hard or you end up with big dents in your cardboard buddy.

 ~ I painted the chalkboard paint right onto the cardboard. It took 2 coats of paint. 
 Each cardboard buddy was dry within about 30 min. total.


~Here my little traveling chalkboard buddies are painted and dry but not quite ready for travel. 
They need a little beautifying.


~covered the opposite side with the contact paper and used  the ribbon to create a handle.
I used my x-acto knife a lot for this entire project


 I created little name tags from scrap book paper and used the only stamps I own. :)


.

And here they are:

~ All you need is a few pieces of chalk and a small package of wet wipes and off you go.
~These are perfectly fun for a road trip.
~ I used a play dough container for the chalk for easy travel.
 ~My girls also like the idea of playing school with their chalkboard dolls. 

We have our buddies hanging on a little hook by our kitchen table. Great for the kids at snack times and waiting for lunch!!

My girls helped make these three rectangle ones for our friends who will be traveling.
~These rectangle ones honestly took 10 minutes after the paint dried
 but the shaped ones took me a bit longer. 
~They wipe off great with a damp rag or a wet wipe. 


                                      Hope you enjoyed this simple 'use what you have' creation.                           

This has been such a great opportunity and a lot of fun.
Thanks again Nike you are great to work with especially with me being a new blogger on the block. :)

Happy creating to all of you, and thanks
for joining me in my  'use what you have' project.
All for now, time for a cup of tea.
                                                               
 ~becky


Wednesday, April 6, 2011

Car pillow out of cloth napkins


I have been slowing trying to make my little guys room a place fit for a boy.  I made this car mobile a bit ago and have wanted to make him a pillow for his bed. I made quilted pillows for the girls for Christmas see here and here.  Truth is it is easy to come up with girly things so I am determined not to leave my little guy out of my creativity.

I didn't have to buy anything new for this just 'used what I had' and what I had were these two cloth napkins that I had bought in the States for like $1.50 for both over 2 years.  While I was looking through my fabric I came upon them and tada a perfect size and color for a  pillow and they are already hemmed and ready to be sewn together.

I made a little template for a car and designed two little cars for the pillow that would match the mobile  I made.
I bought a roll of this stuff that makes material stick when ironed on..and so I used that for both the cars and then hand sewed around them.  Hand sewing can be theraputic I think so I didn’t mind.


However I tend to create along the way when I sew so I also did a little patchwork to cheer it up and make it more colorful. 

I ironed down the sides, cut to size and then pinned it on and sewed it on with my machine.


I wanted to not just stuff the pillow but have a lining pillow case for the pillow because truth is my little guy sweats like it is 100 degrees in his room everyday.  So I took some thin cheap material I had and made a quick pillow case. This would be easy to if you had an old pillow case just cut to size and then sew the open part together – again not as much sewing an measering for us new sewers. J
I then inserted my pillow lining into the car pillow case and then stuffed it.  I then sewed the lining pillow case together and then the car pillow case. I did leave an opening though and plan on sewing on two small ties to close it up. (because I still don’t know how to do buttons on my sewing machine ;))


Here is my little guy ~ he pointed and said “car, car- two cars!” I love giving my kids the creations I made especially for them.


Related Posts Plugin for WordPress, Blogger...

LinkWithin

Related Posts Plugin for WordPress, Blogger...